To start processing a Bureau BACS Submission, select Bureau > FPS Bureau Submission
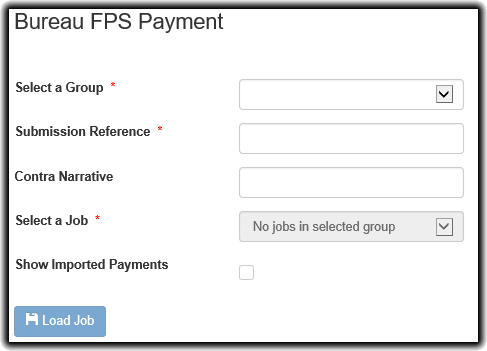
Select a Group
Before you can create the Bureau FPS Job Submission, you must choose the relevant group from the selection box. Once selected, if any jobs are available in the group, the Select a Job box will become enabled.
Submission Reference
Each FPS Bureau Submission requires a reference. This is primarily to allow users to identify submissions as they proceed through the submission process.
Select a Job
You should select a Bureau Job that has been configured for the group.
Show Imported Payments
By default, this is left deselected. When the Load button is pressed, the bureau job will proceed directly to Pre-Submission validation.
When selected, the Load button will generate the View Imported Payments landing page where the user can make any necessary modifications
prior to proceeding to the Pre-Submission Validation process. For larger jobs, e.g. jobs containing a large amount of payment files or payments, this
may cause a noticeable increase in the time taken to load the payments. A warning message is shown as such:

Load Job
Clicking this button will load all the data from the job to construct a Bureau FPS Submission
Imported Payments
Once the process has run, you are shown a tabulated result of each file's details. Also included is information pertinent to the selected file, namely credit, debits and DDI totals.
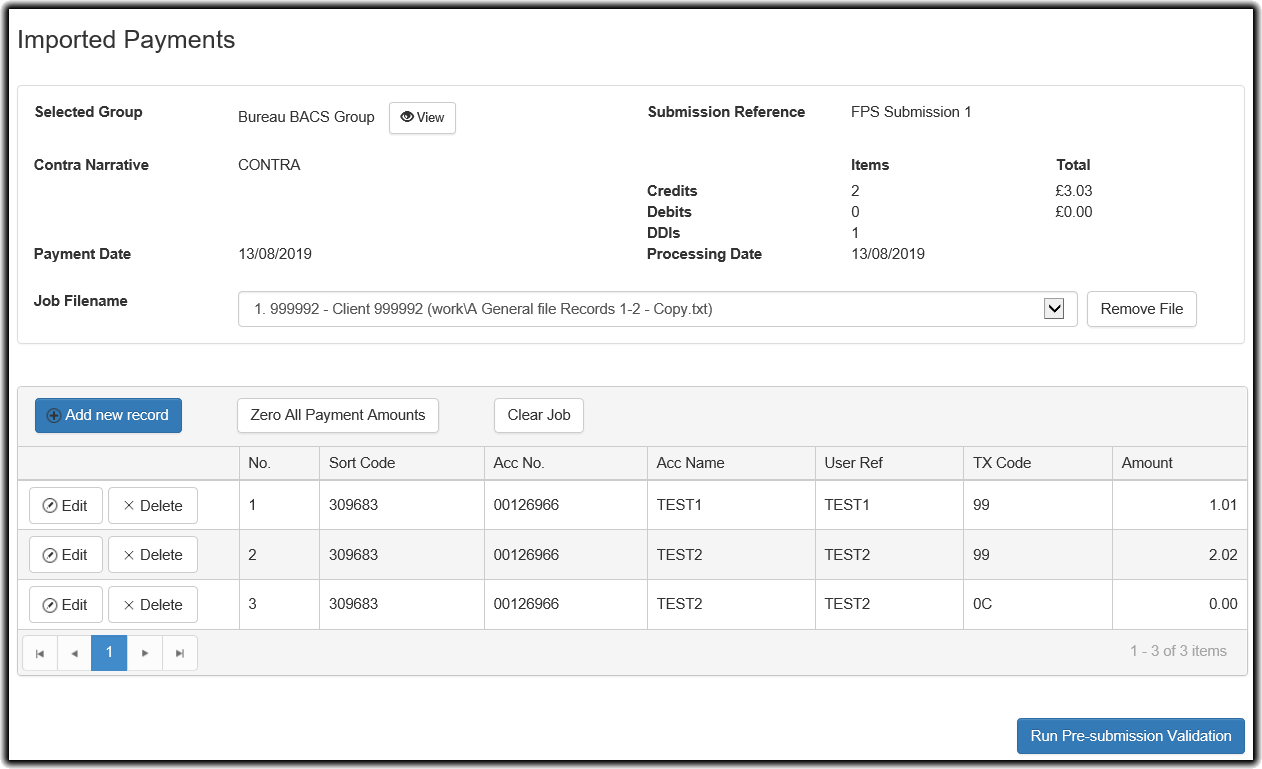
Job Filename
The table shows the contents of the imported file. By clicking on the Job Filename dropdown, you can select which job you wish to see the tabulated import for.
Delete
The Delete button next to the Job Filename dropdown allows you to remove the file from the job entirely, leaving the other files intact.
Add New Record

This function allows you to insert a new record into the imported data from the payment file.
Zero All Payment Amounts
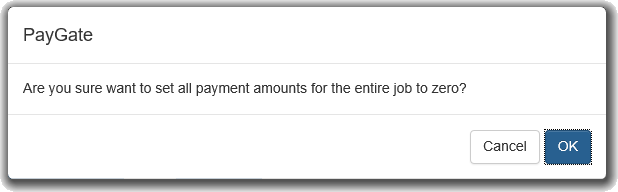
When pressed, the following confirmation dialog will appear. Selecting the OK button will zero the Amount values for all entries across the entire Bureau Job.
Clear Job
This button will remove all imported values and return the user to the Bureau BACS Submission screen.
Run Pre-submission Validation
This process will validate the payments prior to submitting the payment files to BACS. Any serious issues will prevent you from proceeding and needs to be fixed before continuing with the submission. When the pre-submission validation has completed, the results are shown for all files.
Pre-Submission Validation Results
Following pre-submission validation, the user can use the Imported Payments screen to add new records, correct errors in the existing payments or delete payments completely.
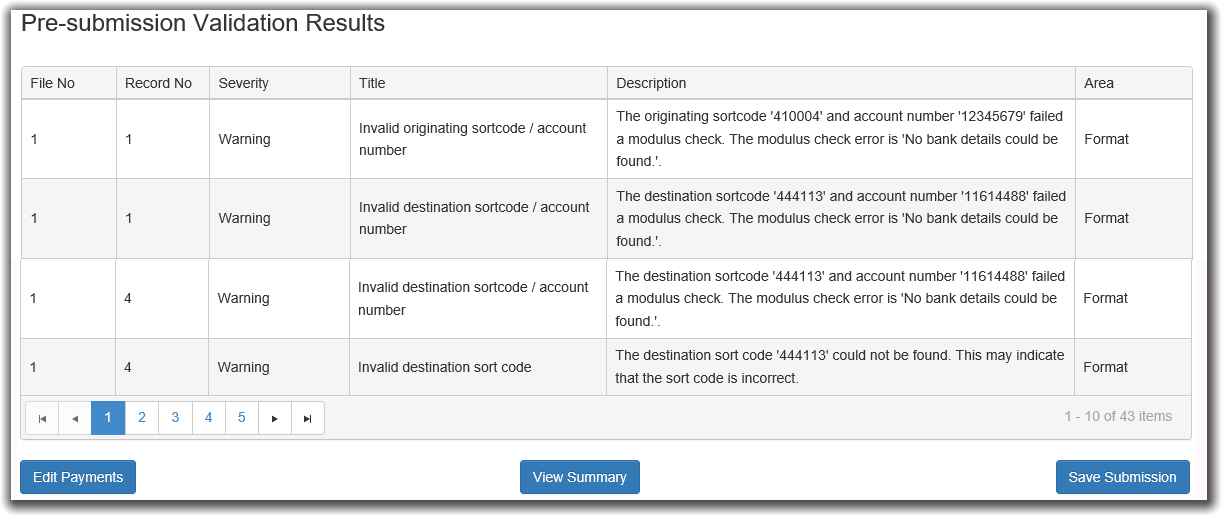
Edit Payments
Click on Edit Payments to return to the previous Imported Payments page. The payments are sorted by the severity of the pre-sub validation messages. Fixes are shown first, followed by warnings and finally those which were successfully validated
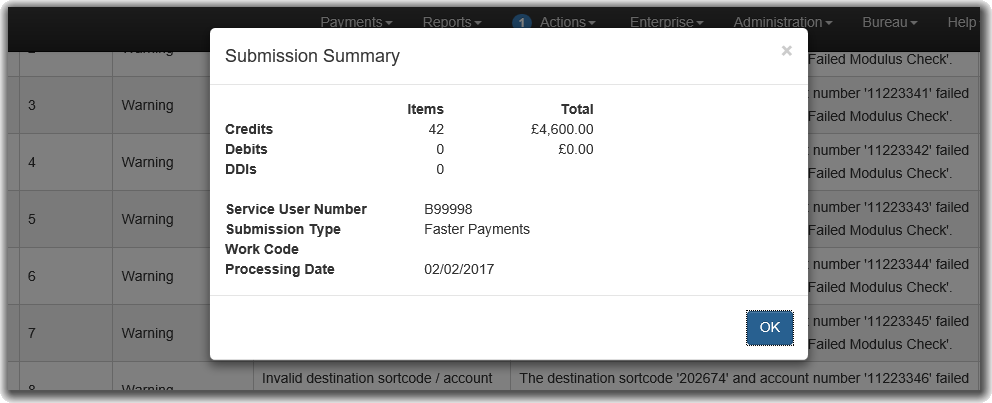
View Summary
Click on View Summary to show the details of the overall submission
Save Submission
To finish the submission creation process, click the Save Submission button. Everyone who has the Sign role for this submission will receive a signing action.
After the submission is saved, you will be shown the Action List page