Create an Import Bureau Customer mapping
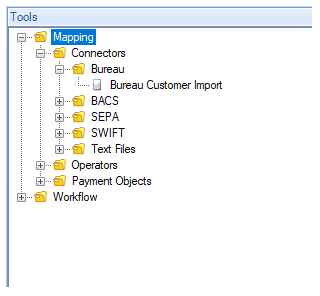
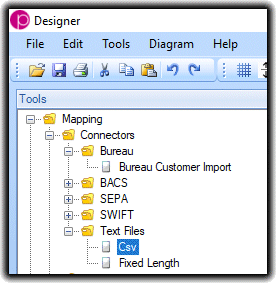
Within the Designer application, a new menu has been added under the Mapping > Connectors options
The Bureau Customer Import node is where you define the mapping for the import process. Upon dragging it into a Mapping area, you are presented with the following dialogue box
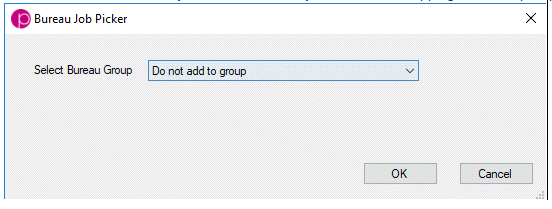
From here, you can specify that your bureau customers are:
- not added to any group or job, simply imported: Simply select "Do not add to group" from the Select Bureau Group menu
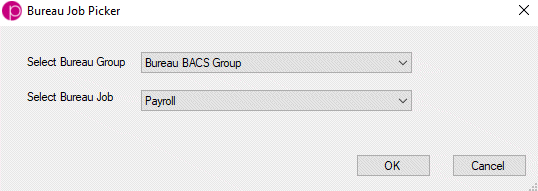
- added to a pre-existing group, but no job: Select the required group from the Select Bureau Group menu and leave the Select Bureau Job menu blank
- added to a pre-existing group under which there is a pre-existing job: Select the required Group and Job from the Select Bureau Group and Select Bureau Job menus respectively
Please note, in order to import customers into a group and/or job, these need to have been previously configured in the paygate Enterprise system. Here we have selected the Payroll job that was earlier added to the Bureau BACS Group
You are then presented with a connector node which looks similar to the one below; note the target group and job (if selected) are displayed in the header bar of the node.
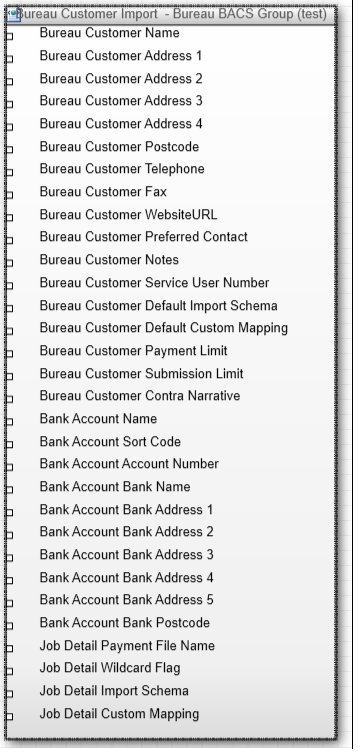
From here, you can use a standard Csv Text File connector to configure your mappings.
You may end up with a mapping similar to the below:
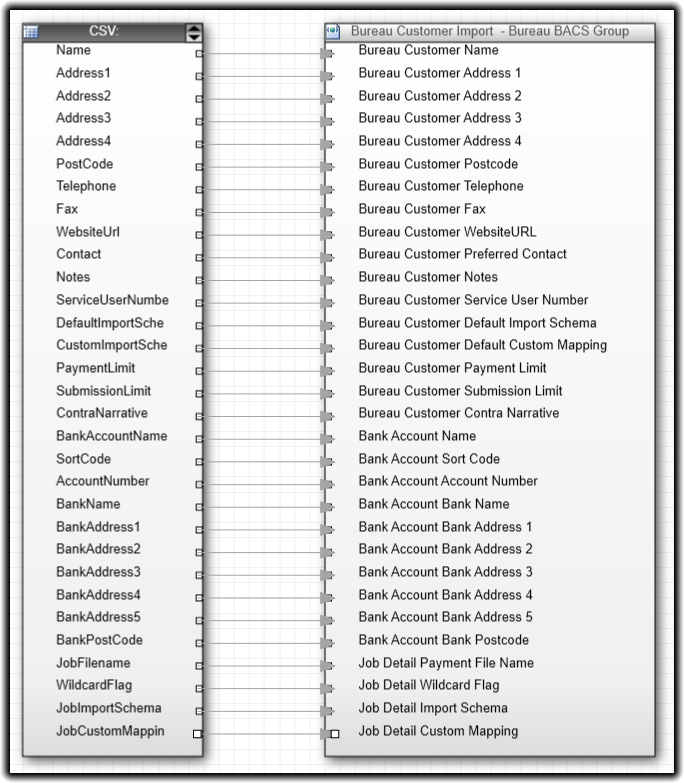
This particular configuration imports every possible field for a Bureau Customer. It should be noted that as a minimum, an import will require:
*Note that the bureau customer bank account data is optional. However if supplied, it must contain all three fields. That is any particular imported bureau customer requires either all or none of these fields
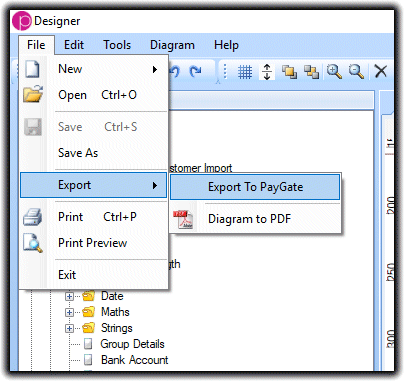
When you have defined your mapping in Designer, make sure to export the mapping to Paygate from the File menu and give it a recognisable name.
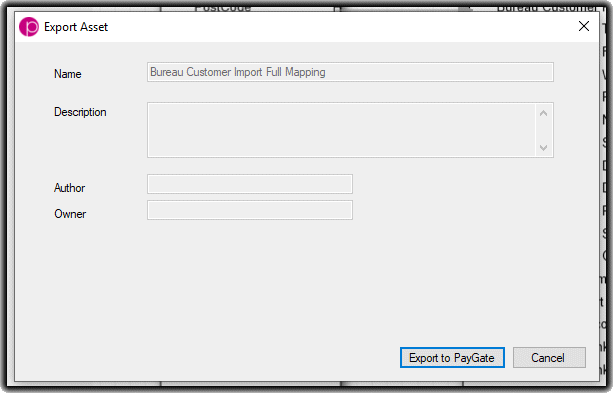
Here, we have given the mapping the name of Bureau Customer Import Full Mapping for ease of recognition.