The BACS Bureau Submission Builder allows you to create an ad-hoc bureau job for BACS processing without having to specifically create a Bureau Job in the usual manner. While Bureau Customers and Groups are still required to be properly configured, this offers a quick solution to for any non-regular or ad-hoc bureau jobs which require processing.
To start processing a Bureau BACS Submission, select Bureau > BACS Bureau Submission Builder
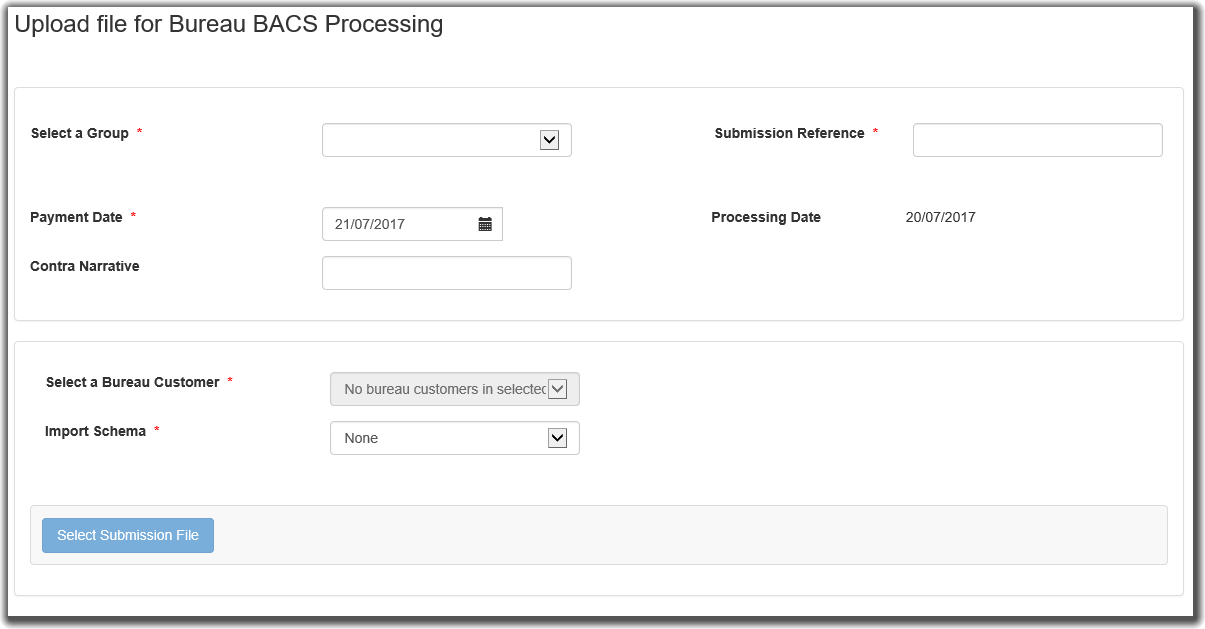
The screen is split into three main areas, of which only two are visible when first loaded.
The top area contains all the static information for the job. Once job files have been loaded, these areas will then become locked and cannot be modified.
The middle area is meant for loading payment submission files for bureau customers.
Select a Group

This menu will display all configured Bureau BACS Groups. Selecting a group will enable the Select a Bureau Customer dropdown list. However the Select Submission File button will not unlock until all required fields have been populated.
Submission Reference
Each BACS Bureau Submission requires a reference. This is primarily to allow users to identify submissions as they proceed through the submission process.
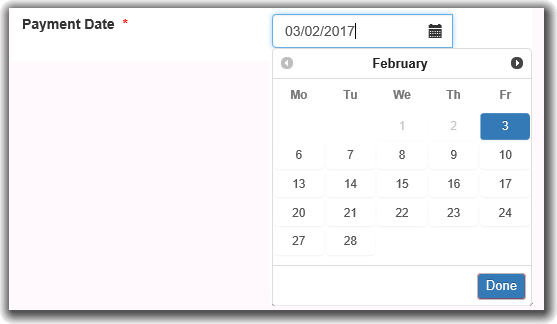
Payment Date
BACS payments can only be processed Monday to Friday, excluding any UK bank holidays. The usual sequence is that the payment files in the job are submitted to BACS, processed the next day and payments credited to or debited from bank accounts the day after that. The payment date defaults to the next possible payment date. You can however alter the date via the date picker. Clicking the date picker will display the current month; only valid payment dates can be selected
Contra Narrative
This is an optional field which can contain a maximum 18 characters. A "contra" payment is essentially a balancing payment.
E.g. Imagine a payment file with 5 payment credit items totalling £500. The file submitted to BACS will also have a balancing debit contra item of £500.
The "Contra Narrative" will appear in the submitted file and on a BACS "Input" report which some customers use to reconcile payments.
If this field is left blank, the contra narrative will default to the originating bank account name; if the bank account name is blank then the contra value will default to the Bank Account Name.
Once a group has been selected in the top panel, the menus on the middle panel will become available. These work in a similar fashion to the Bureau Job Detail entry; in fact you are essentially creating new Bureau Job Details here on an ad-hoc basis.
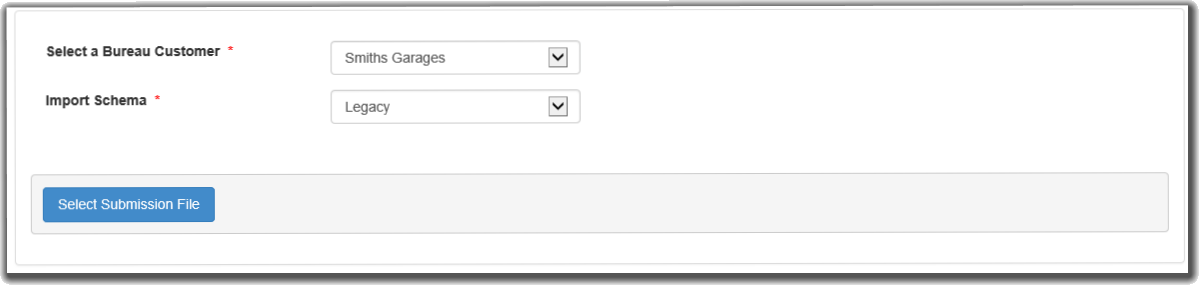
Select a Bureau Customer
The list is populated with the Bureau Customers configured to the selected group. This is the bureau customer for which the file is intended for. If the bureau customer has been configured with a default import schema, the Import Schema box will automatically change to this selection
Import Schema
You need to select the import schema for the file you want to upload. Selecting a Custom format will display the Custom Mappings dropdown menu. The same rules behind file uploads and formats applies here the same as it does when configuring a Bureau Job. While Standard 18 files can be used (including multi-block Standard 18), you cannot mix other formats with Standard 18. You can upload any combination and amount of legacy or custom format text files.
Select Submission File
When pressed, this will display a dialog where you can select the file you wish to upload for the selected customer. Once a file has been uploaded, all fields in the top-most panel will lock; these cannot be edited after you have started to create the submission's job detail lines.
Once a file has been loaded, the lower panel will appear for your use.
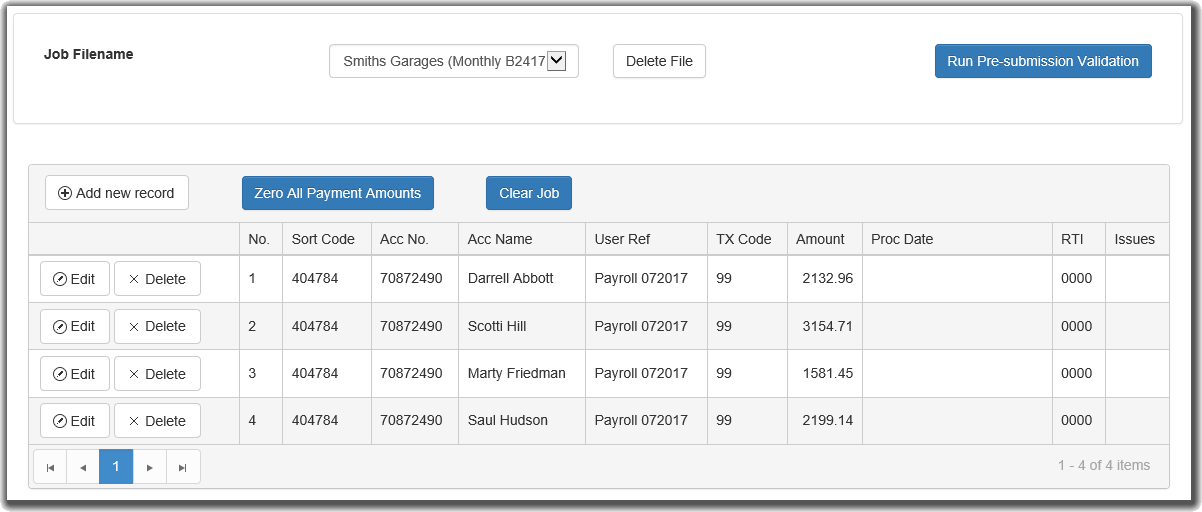
This screen is very similar in function to the View Imported Payments screen when running a standard Bureau job.
Job Filename
This dropdown shows any and all files that you have uploaded into this job submission. The text within the dropdown depicts the Bureau Customer Name and the Filename that has been loaded against them. To load further files, simply click on Select Submission File to upload another file for whichever bureau customer is shown in the Select Bureau Customer dropdown list.
Delete File
If you have uploaded a file by mistake, simply click this button to remove it from the job submission entirely. Any modifications that you have made to the file contents will not be saved.
Add New Record

This function allows you to insert a new record into the imported data from the payment file.
Zero All Payment Amounts
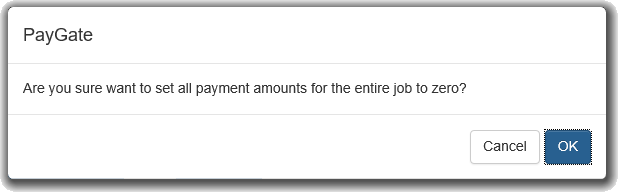
When pressed, the following confirmation dialog will appear. Selecting the OK button will zero the Amount values for all entries across the entire Bureau Job.
Clear Job
This button will remove all imported values and return the user to the Bureau BACS Submission Builder screen.
Run Pre-submission Validation
This process will validate the payments prior to submitting the payment files to BACS. Any serious issues will prevent you from proceeding and needs to be fixed before continuing with the submission. When the pre-submission validation has completed, the results are shown for all files.
Pre-Submission Validation Results
Following pre-submission validation, the user can use the Imported Payments screen to add new records, correct errors in the existing payments or delete payments completely.
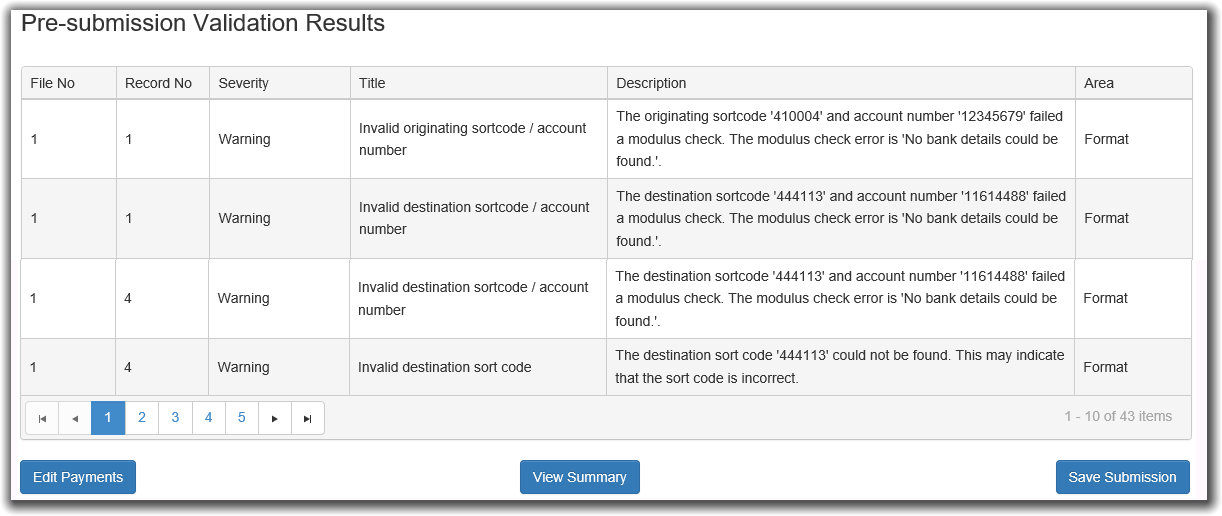
Edit Payments
Click on Edit Payments to return to the previous Imported Payments page. The payments are sorted by the severity of the pre-sub validation messages. Fixes are shown first, followed by warnings and finally those which were successfully validated
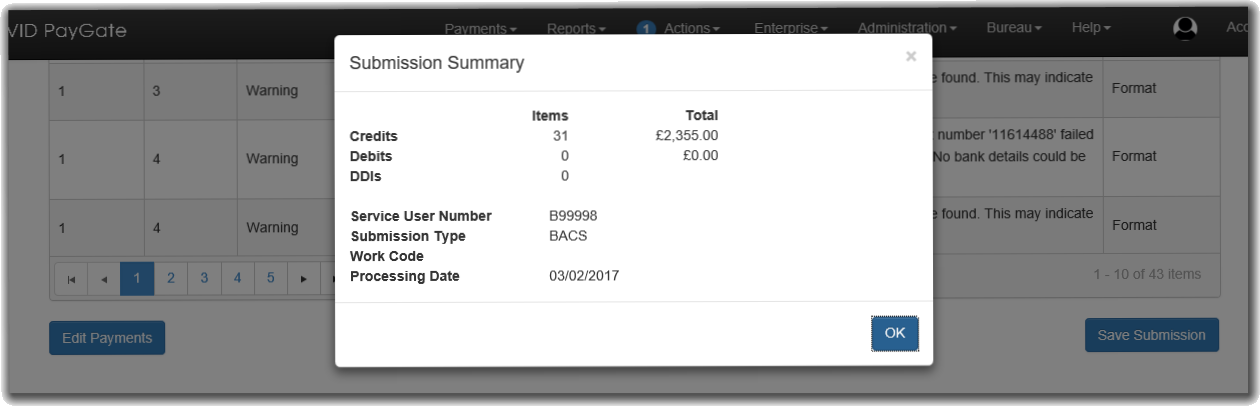
View Summary
Click on View Summary to show the details of the overall submission
Save Submission
To finish the submission creation process, click the Save Submission button. Everyone who has the Sign role for this submission will receive a signing action.
After the submission is saved, you will be shown the Action List page