The company details screen displays the information we hold about your company; it also provides a convenient place to manage your company contacts.
Your main details are read-only, if you need anything updating please contact support.
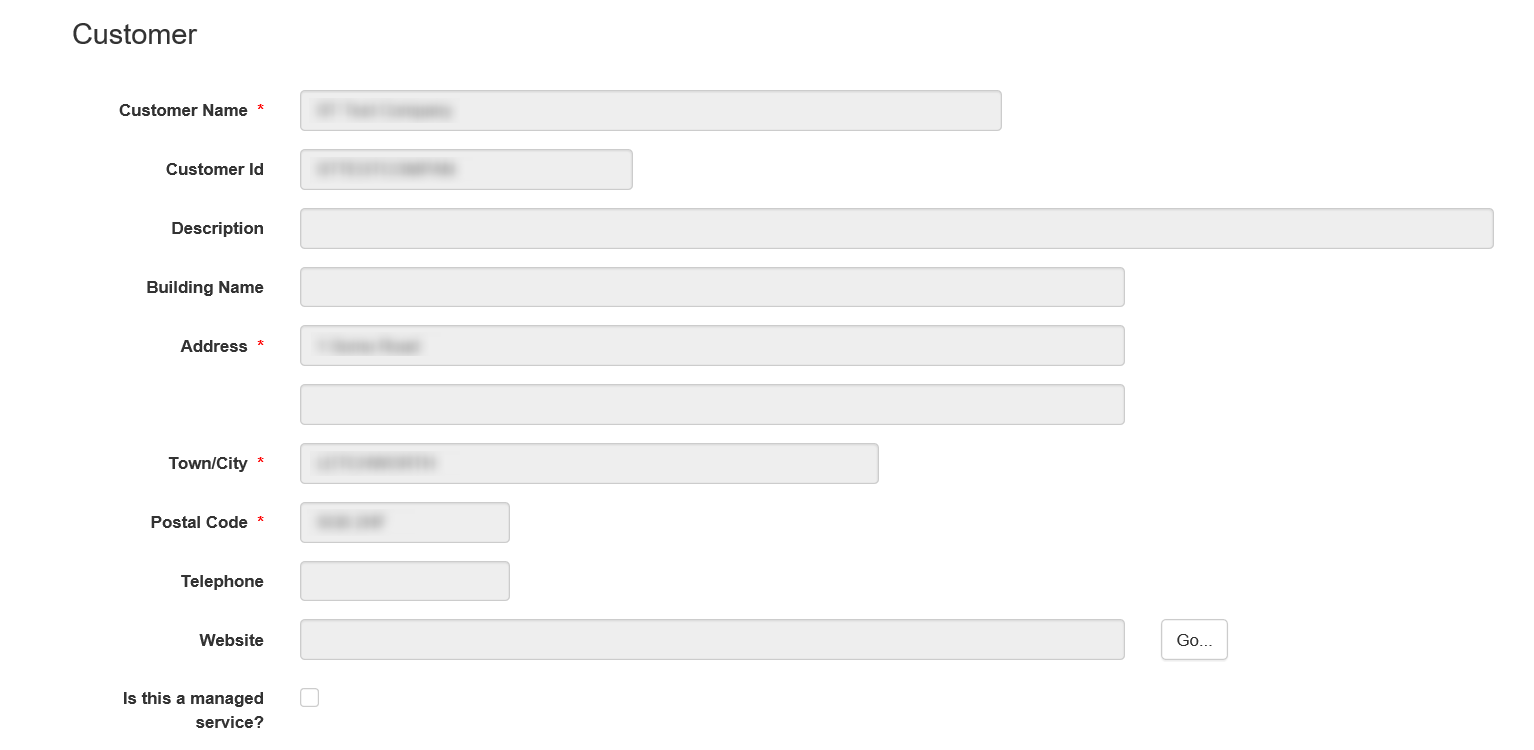
Go...
Clicking on the 'Go...' button will open a new window using your website address.
Is this a managed service?
The 'Is this a managed service?' option allows you to change whether support is able to access your account.
If you wish to handle all the administration of your PayGate Enterprise instance yourself, then removing the check from this box will prevent support personnel being able to access your account. If you wish to enable support to access the account again in the future, you can change the value accordingly.
Contacts
Contacts are used by us to ensure that we contact the right person within your organisation for technical or billing matters.
The primary contact will be our first point of contact for normal day to day matters.

Create/Edit a contact
To insert a new contact into your contacts list, click on the 'New Contact' button in the top left of the 'Contacts' grid.
Clicking the 'Edit' button at the left of the contacts details will take you to the contacts edit screen for that contact.
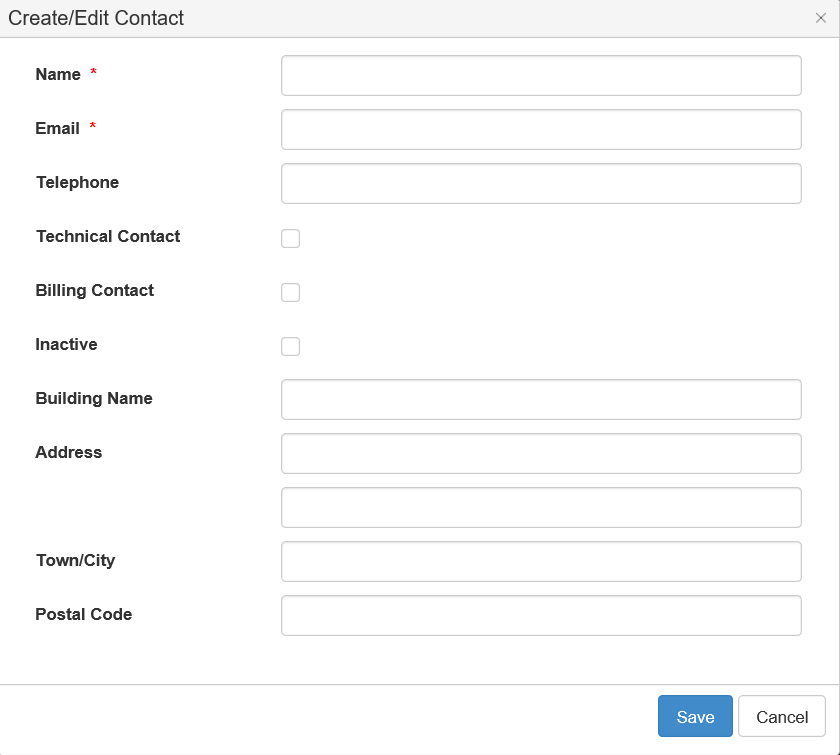
Ensure that you enter details in all fields marked with a red '*' and click 'Save' to create/update the information.
We will direct any technical matters to contacts marked as a 'Technical Contact' and billing matters to contacts marked as a 'Billing Contact'.
Any contacts marked as 'Inactive' will not be contacted.
If the contact has a different address to the main customer address, you can enter that information here.
Custom Email Addresses
Custom email addresses allow the sending of emails from PayGate using an email address you have specified. This is a licensed feature, and needs to be enabled by an Administrator.
By default, emails are sent using noreply@paygate.cloud, but additional addresses can be configured if that functionality is enabled as a feature.

To add a new email address, click the “New Email Address” button, and it will open
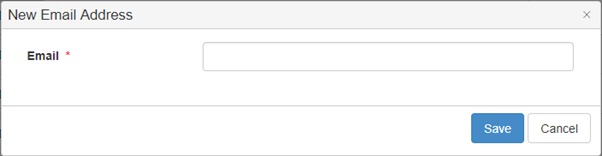
Once an email address has been entered into the input and then saved, it will be added to the custom email address table, and will require validation. An email will be sent from Amazon Web Services using the address of: no-reply-aws@amazon.com asking to verify the email address. Once that has been approved, clicking the “Check Verification” button on the Custom Email Address table will switch the email address to a “Verified” state, allowing it to be used to send email addresses.